Its Finally Time to “Make It Pop”
Ok, I know, cheese headline, but common! It’s time at last where we designers can “make it pop” without silently cursing our life decision to join a field with such ambiguous feedback!
Learn how to add halftone filters, comic book levels of colour, and exaggerated expressions common to most pop art.
Make it Pop With AI?
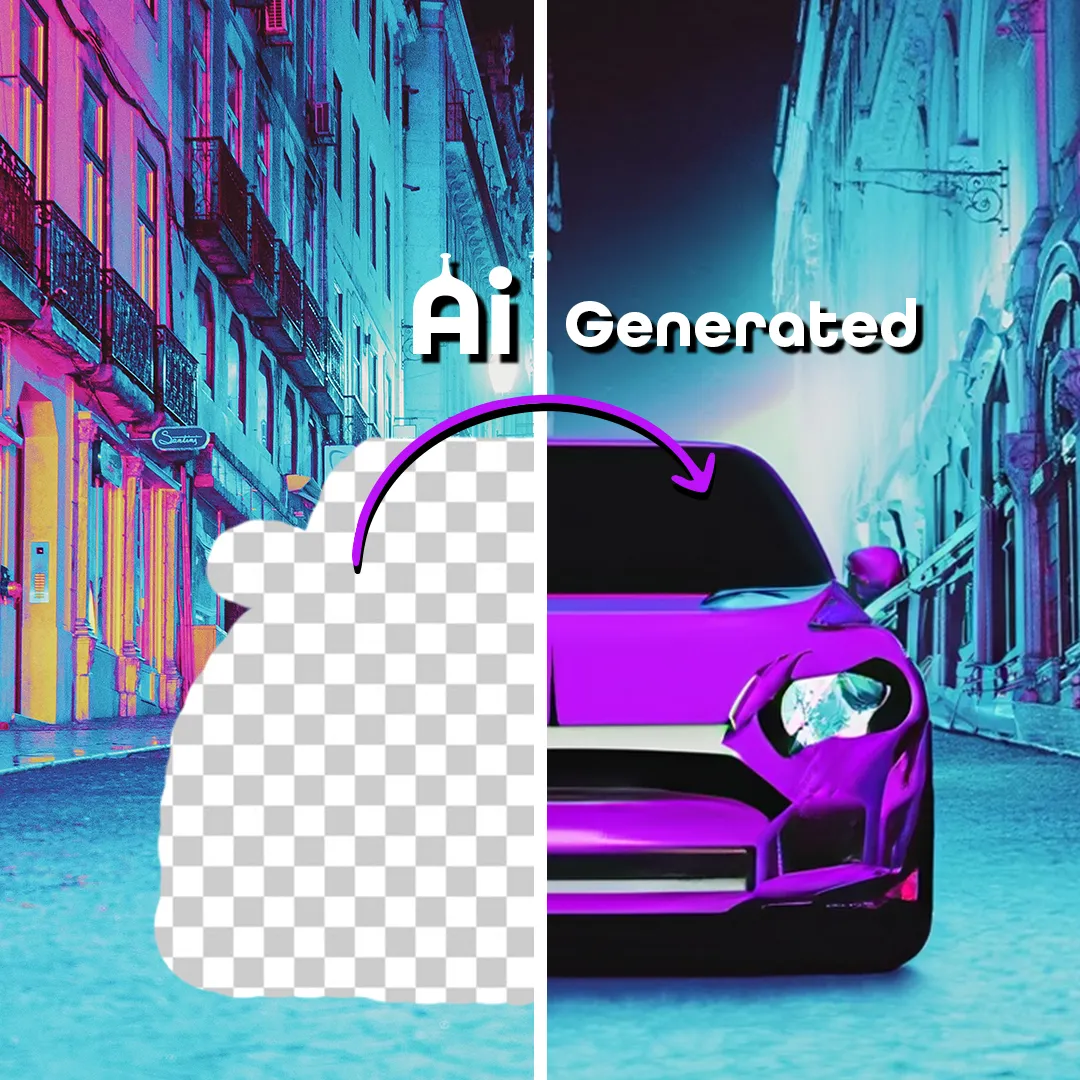
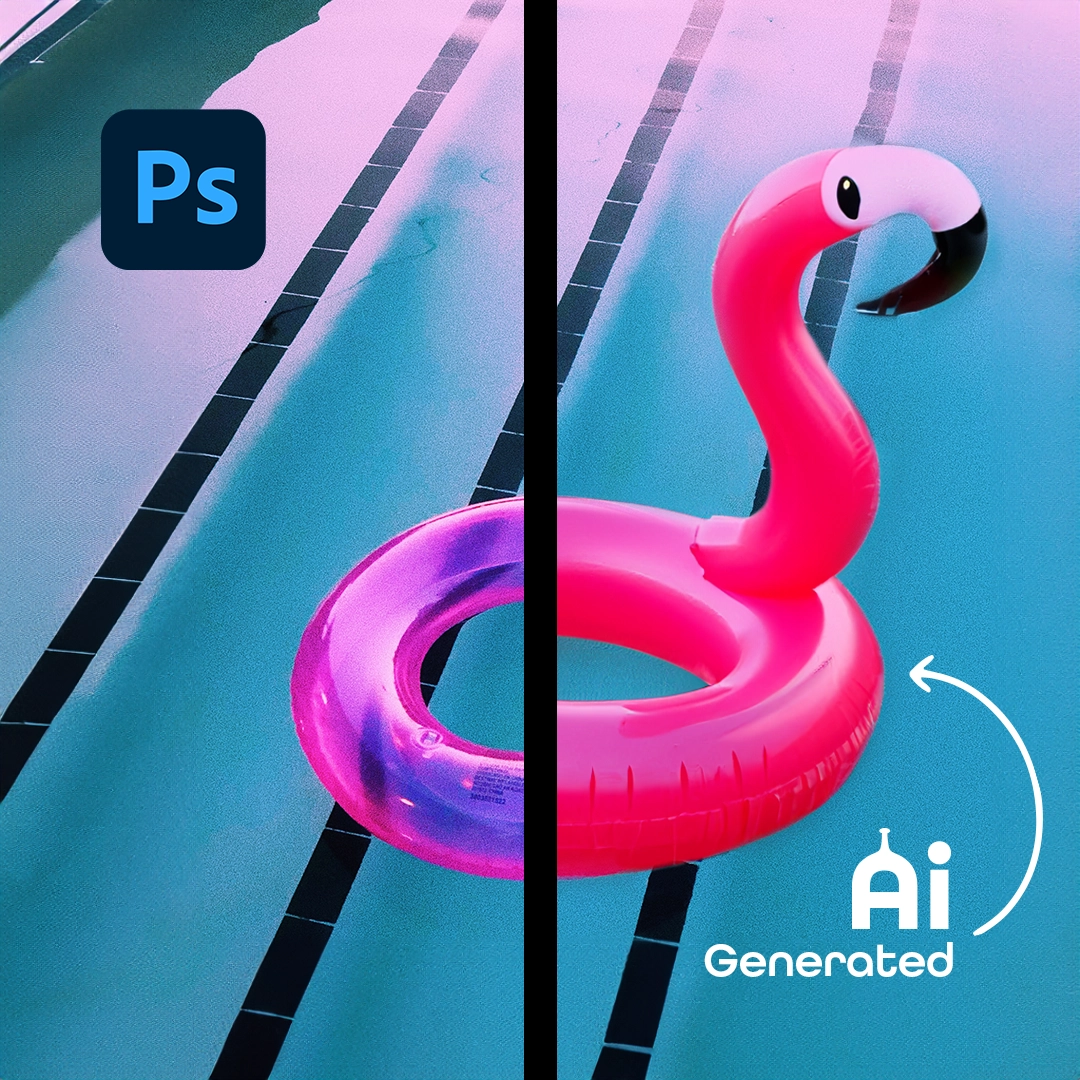
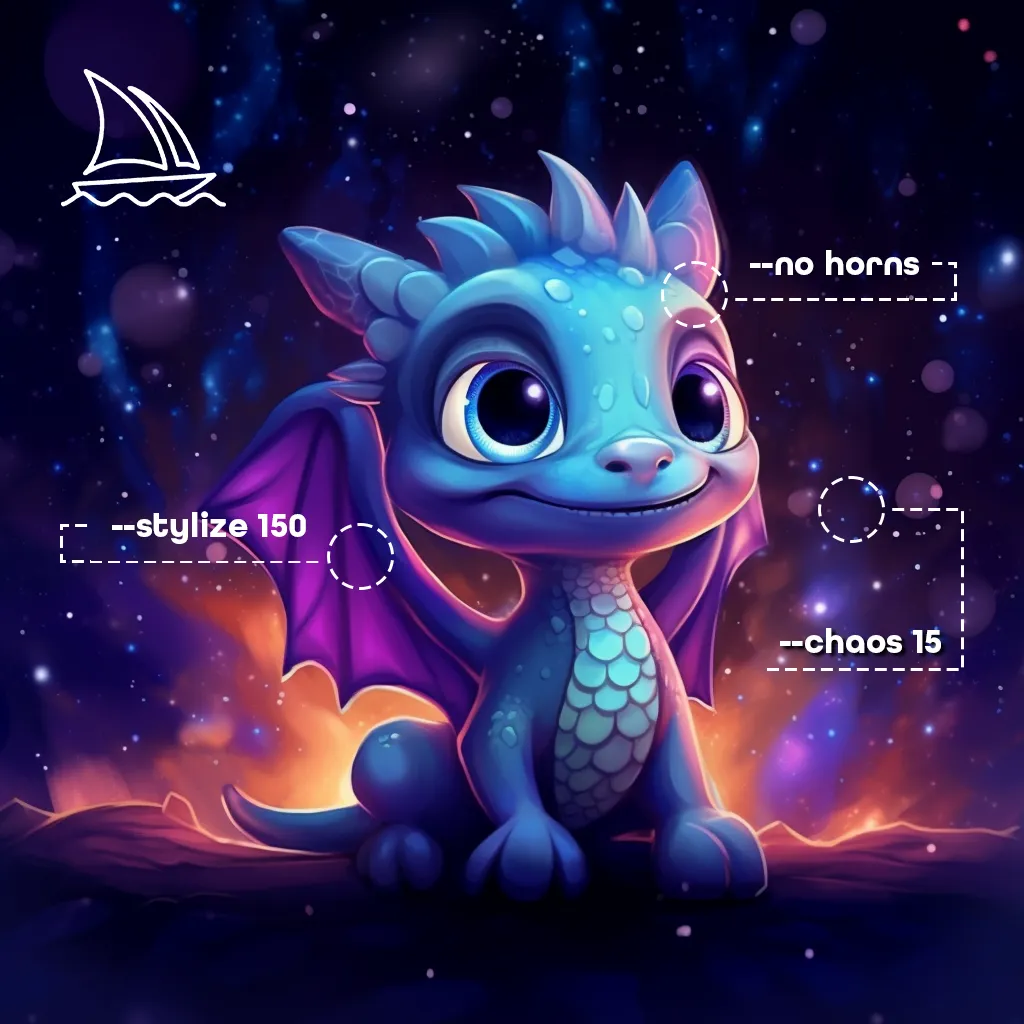
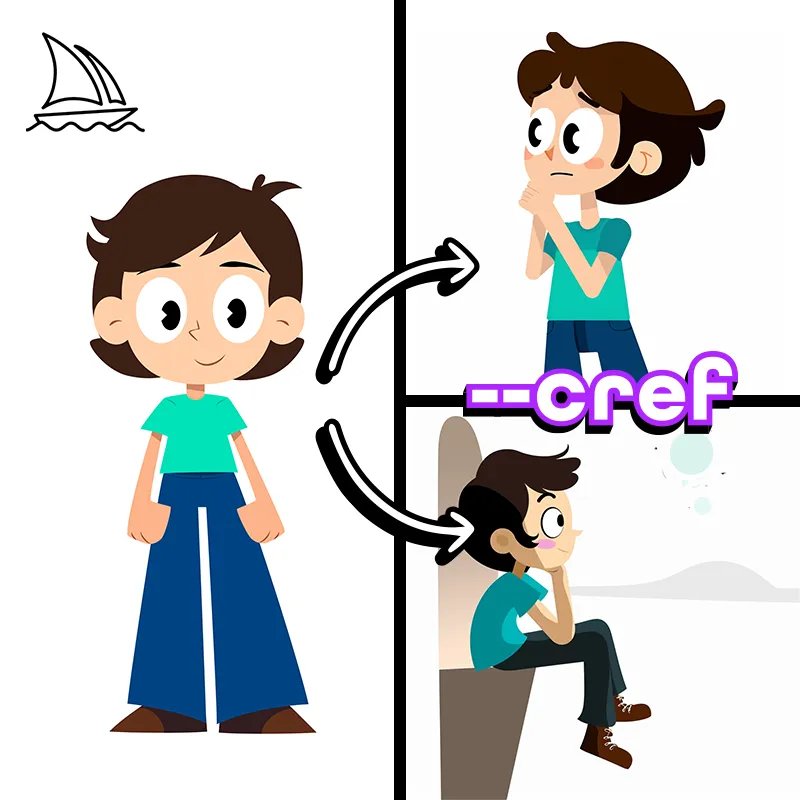
Before you get too far, you can skip the hassle and create a perfect pop art image with Midjourney.

1. Isolate the Subject of your Image
Click on the “Select” drop-down menu, then click “Subject”.

This should make a pretty good selection of your subject, but you may need to refine depending on the photo. Once you’re happy with the selection, add a layer mask.

2. Add a Background Colour
Add a background colour or gradient behind the mask of your subject.
Remember, this is POP art! The brighter, the more in your face, the better.
Simply add a “solid color” or “gradient” adjustment layer, beneath the subject layer.

3. Add a Halftone Gradient Layer to the Background
Add a “Gradient” Adjustment Layer, with a radial black to white fill.
Click Filter > Pixelate > Color Halftone and fill the pop-up window with a 10-pixel max radius, and 45 for all 4 channels.
Add a “Screen” Blending Mode and adjust the halftone gradient layer’s opacity to your designed effect.

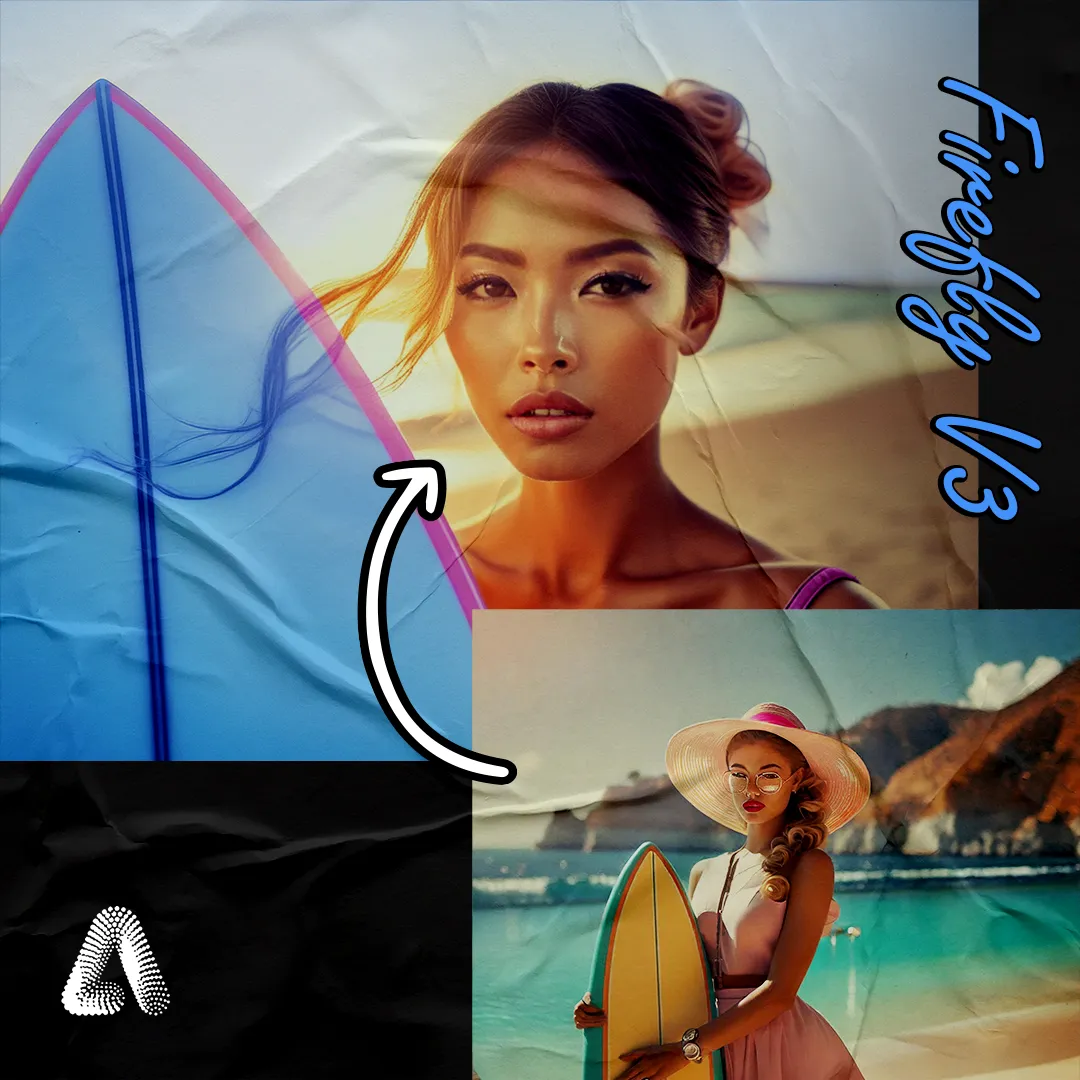
Midjourney & Firefly Tested Keywords
Monthly Inspo Right in Your Inbox
Sign-up and get style-specific keywords directly to your inbox every month.
4. Make the Subject Photo Black and White
Add a “Black & White” Adjustment Layer, and mask it using the subject’s mask.
Optional: Add a “Brightness/Contrast” Adjustment Layer for a more exaggerated look.

5. Add a Halftone Filter
Select your subject layer, and ensure your background and foreground colours are set to default (black & white).
Go to Filter > Filter Galler > Halftone Pattern and set the Size to 5, and Contrast to 8 then press OK.

6. Roughly Outline your Subject with the Pen Tool
Using your pen tool, make a purposefully jagged outline of your subject. Your section should be larger than the subject.
Remember, this is pop art! The more exaggerated, the better!
Add a white “Solid Color” Adjustment Layer to the Pen Tool selection.

7. Add A Linear Burn Blending Mode
Select your subject layer, and black & white adjustment layer (and brightness/contrast adjustment layer if you added it), and convert them into a smart object.
Add a “Linear Burn” Blending Mode to this smart object.
8. Paint Like CRAZY!
Create a new blank layer underneath the subject, and using a soft round brush, paint in parts of your subject with bright neon colours!

9. Add extra Halftone Gradients for an extra flare!
Using the technique outlined in step 3, add extra halftone gradients to your image to complete the look.
Expert tip: black to white halftone gradients make excellent shadows if you’d like to add extra depth to your image.

Monthly Prompt Inspiration
Learn new AI art styles with monthly style guides.

60s Design Prompts

Cubism Prompts