What’s Included in the Firefly 3 Update?
Fresh off the stage from the Adobe MAX conference in London, the Firefly 3 update has finally arrived!
This massively upgraded AI image generator brings better images and awesome new Photoshop powers.
Quick Links
Better Photography
Generate New Images in Photoshop
Generate Text in Images
Remove Tool in Photoshop
Related Article:
How to Get Access to Firefly 3?
Since it was only just released to the public, Firefly 3 is still in its beta. You can access it by either specially selecting it online in the model drop-down or by downloading the latest version of the Photoshop beta.
Firefly Online
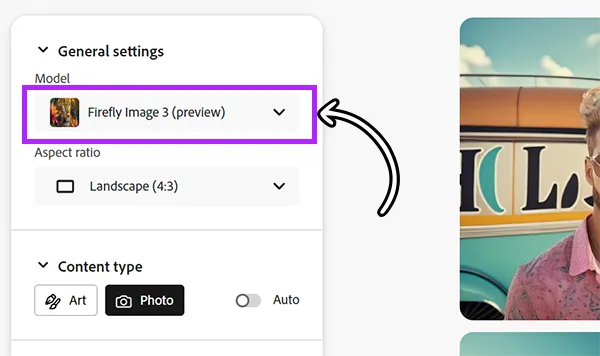
This one’s easy! Simply navigate to the Text-to-Image generator, then look in the top left corner of the “General Settings” sidebar section and ensure “Firefly Image 3 (preview)” is the selected model.
This appears to be the default setting, so you’ll likely not have to worry. ¯\(ツ)/¯
Photoshop Beta
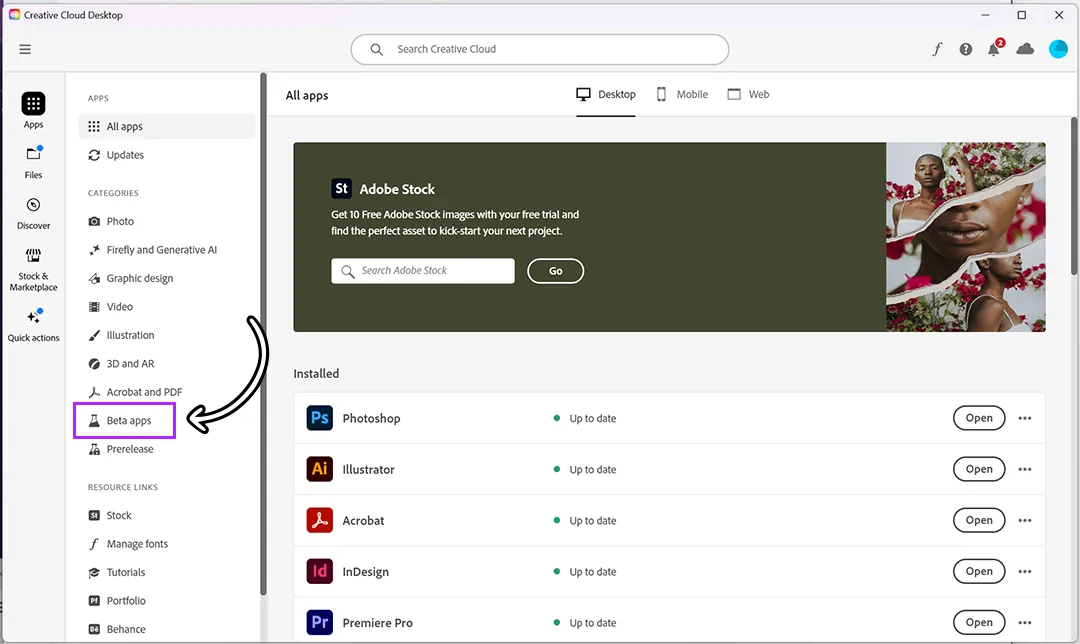
If you’d like to use Firefly 3’s new features in Photoshop, you’ll need to download the beta app. Simply navigate to Creative Cloud Desktop and click the “Beta Apps” option on the left sidebar.
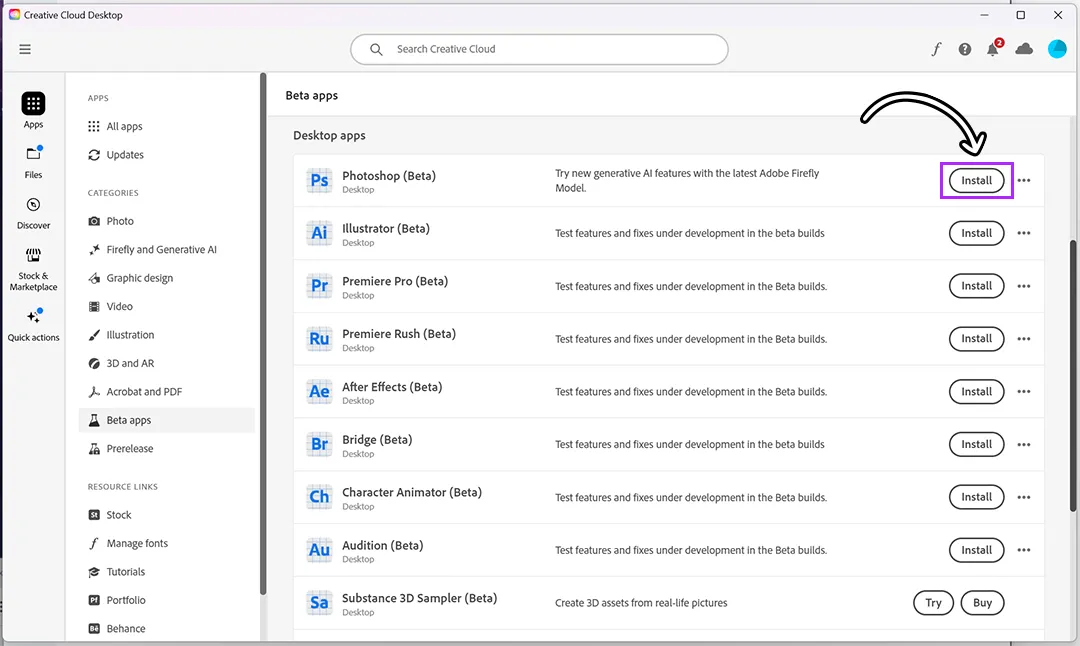
Then scroll through your beta app options until you see the Photoshop one, and then press “Install”.
You’ll, of course, need access to Photoshop for this option to work.
Comparing Firefly 2 & Firefly 3
It’s hard to understand how big this update is without directly comparing it to Firefly 2. Check out how much better all the Firefly 3 images are! It’s actually usable now. 🤯
Photography
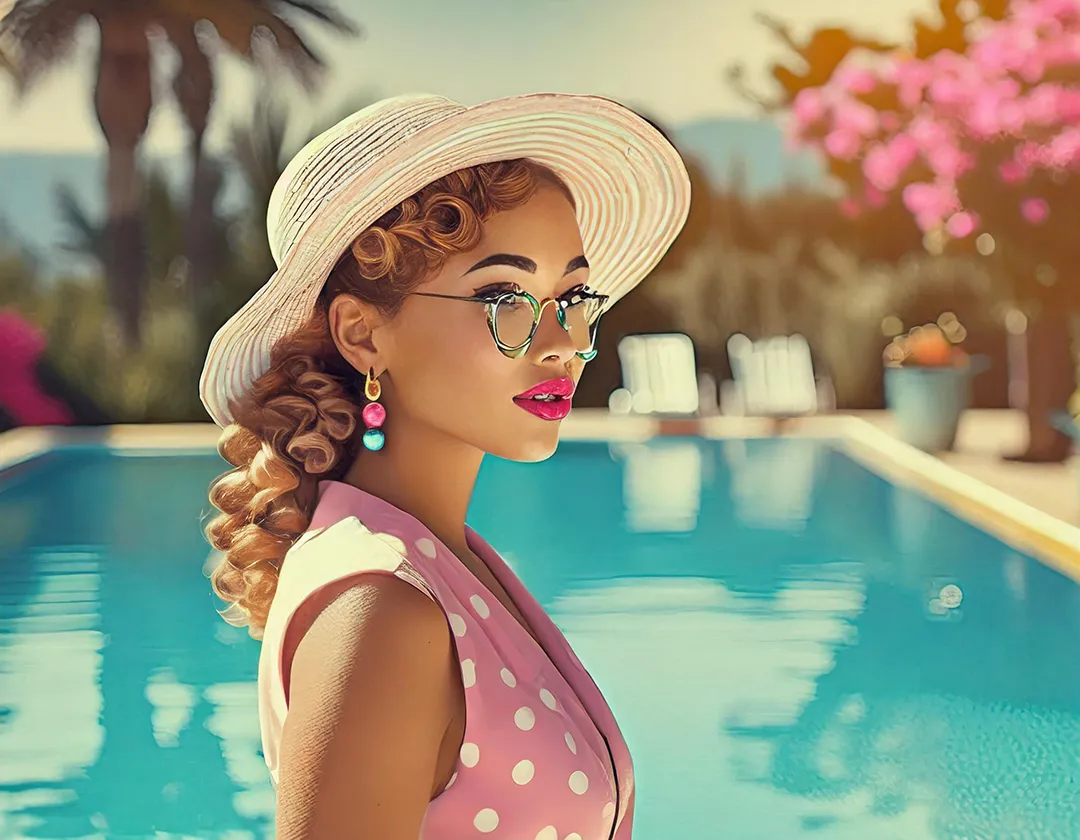
While it still isn’t perfect yet, Firefly 3’s photos are actually usable with a little editing!
Firefly 3’s lady’s hair isn’t realistic when the photo is expanded, the shirt collar is not symmetrical, and don’t even get me started on that earing, but her skin has a texture, the shadows are realistic, and her eyes are captivating.
The lady in Firefly 2’s example, on the other hand, wouldn’t look realistic from 1000km away. Her glasses look melted, her skin looks like cardboard, and her eyes look like they came from a demon!
Prompt: a retro photo of a woman by the pool in the style of pop art, California ~filters: Beautiful, Hyper Realistic, Pop Art
Illustrations
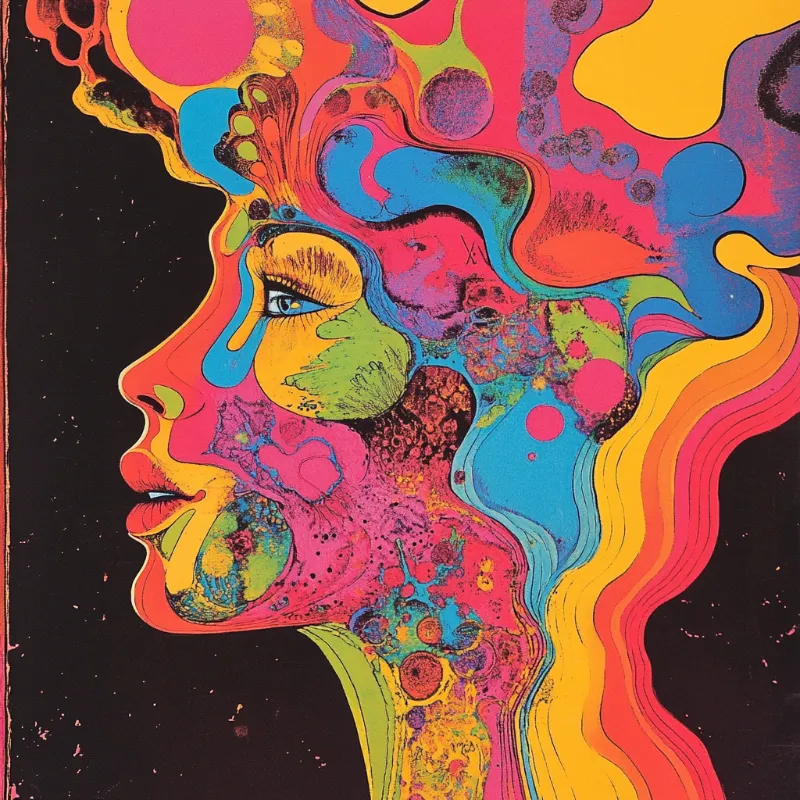
The difference in the illustrations is even more apparent!
Firefly v3 generates something comprehensive, and the style is similar to other artwork in that category.
Firefly v2 tends to incoherent noise, and the illustrative “style” tends to be the same no matter what effect or prompt you use.
Prompt: a pop art illustration of a fashionable woman wearing a hat, retro advertisement illustration ~filters: Comic Book, Pop Art
How to Use “Generate Image” in Photoshop?
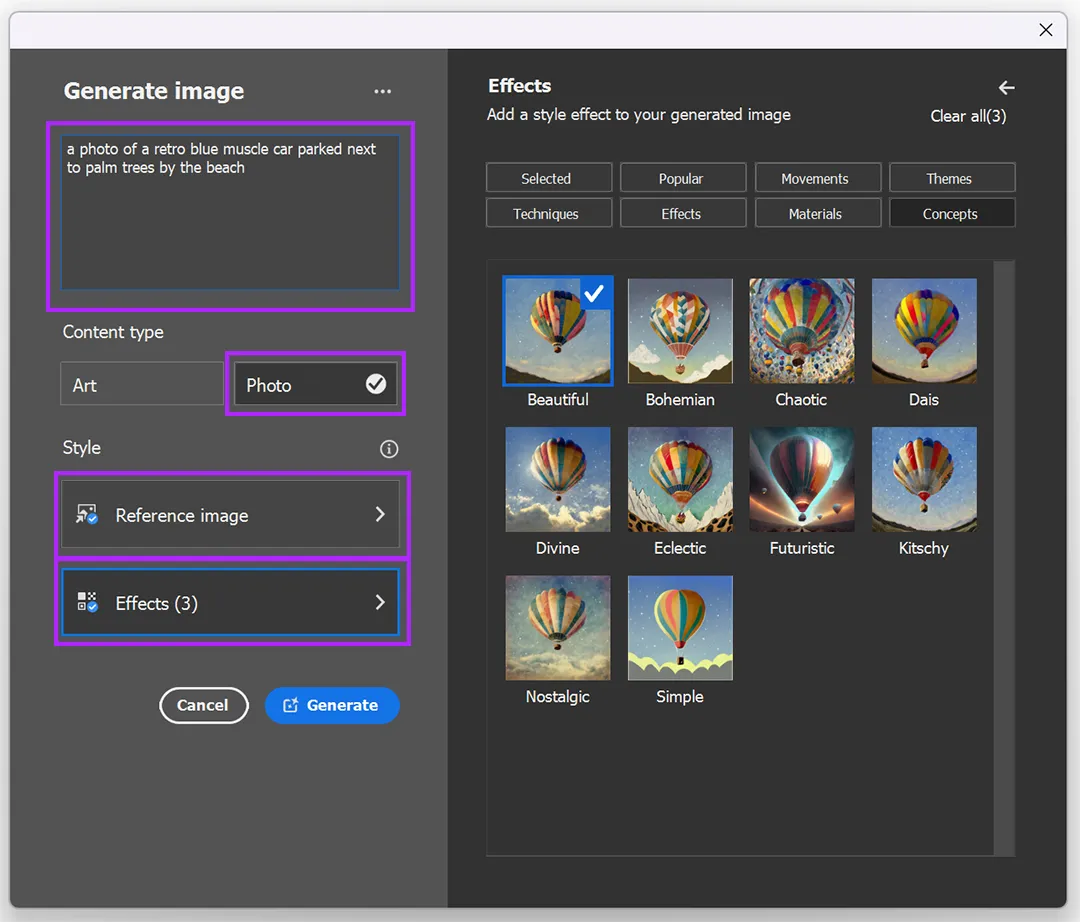
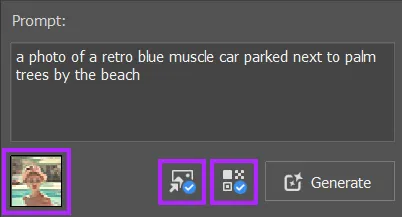
1. Press “Generate Image” on the Contextual Taskbar (or Edit > Generate Image if you turned that off like me 😇)
Midjourney & Firefly Tested Keywords
Monthly Inspo Right in Your Inbox
Sign-up and get style-specific keywords directly to your inbox every month.
How to Use the Remove Tool in Photoshop?
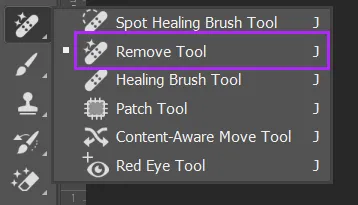
The Remove tool is usually located in the same group as the Spot Healing Tool.
Simply click and hold the band-aid icon. When the sub-menu pops up, click on the Remove Tool. It also uses a band-aid icon.
Adjust your brush to be slightly bigger than the object you’d like removed, then brush over the area.
This will use Firefly 3 to replace the highlighted area.
The remove tool does not create a new layer; it is destructive to the original asset, so be careful.
Why is the Remove Tool Not Working?
Getting a “Can’t use the tool because the target layer is unsupported” error? Don’t worry, I did too.!
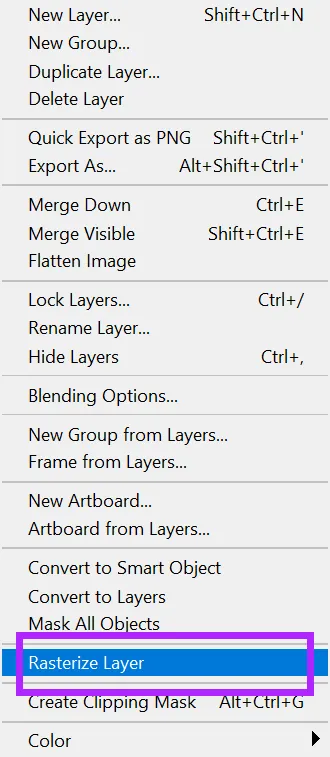
Unfortunately, you need to rasterize your layer. Smart Objects and Generative layers do not work with this tool. Simply right-click your layer and click Rasterize Layer.
It may also help to press the “Sample All Layer” checkbox in the top toolbar. It could be that your Remove Tool is not sensing lower layers.
Finally, when in doubt, update the software! That’s troubleshooting 101.
How to Generate Text on Images?
Before we answer the “how,” let me warn you that while adding text to your image using Firefly 3 is possible, it is way too early for this feature to be used for anything more than just testing purposes. Although this is a great step for the future of the AI, you will be faster (and it will look better) if you add text using an Adobe program or a free Canva membership if you don’t have the full Creative Cloud.
Still here? Alright then!
Add text to an image by simply prompting for it.
[your original prompt] with “YOUR TEXT” written on it
Prompt: a photo of a surfer on the beach next to their van, “Hello World” written on it ~filters: Beautiful, Hyper Realistic, Pop Art
It’s tough to dictate where the text goes. The AI automatically tries to incorporate it organically into the image.
Do You Need to Put Quotes Around the Text You Want on the Image?
No, you can prompt for text without the quotes. See below for some examples. I personally find it more readable for myself with the quotes.

