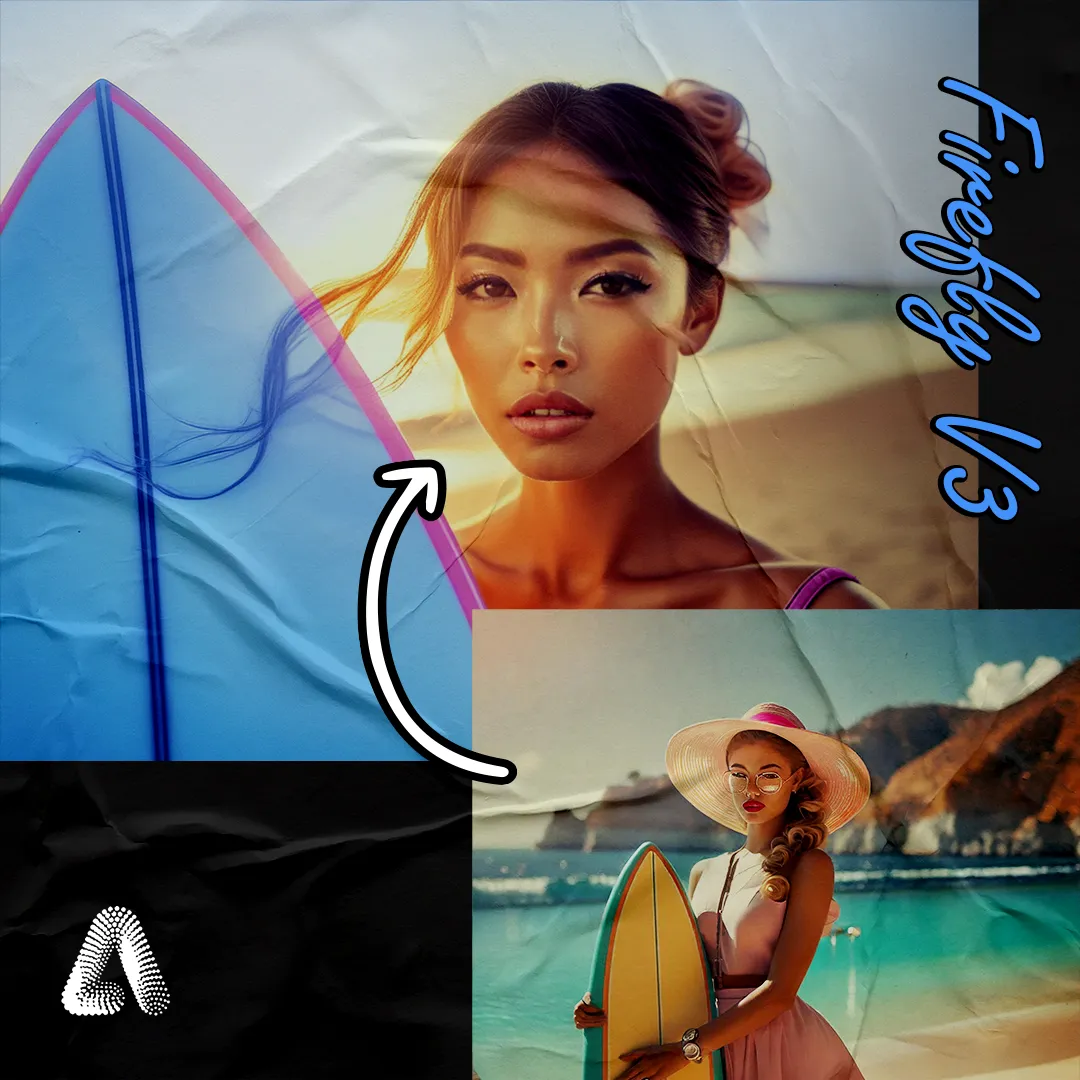
What is Adobe Firefly?
Firefly is Adobe’s newly released Generative AI tool.
Unlike all other generative AI’s on the market right now, Firefly was purely trained on openly/commercially licensed images (their Adobe Stock Library). This means that images generated from Firefly are completely commercially viable.
This will be game-changing for us designers who will use these images nearly exclusively for our clients.
Not to mention, this allows us to use Genertive AI guilt-free, knowing hard-working Artist’s have not been exploited in some black box data set.
As of now, Adobe Firefly has three main functions. It can use a text prompt to:
We’ll be focusing on its ability to generate images for the purposes of this tutorial.
Related Articles:
How to Access Firefly’s Image Generator
Creating an Account
Ok, sounds awesome right? How the hell do you get started? Like right now!
You will need an Adobe account in order to get access, but no sweat if you don’t have one! You can quickly create one for free here.
Now that Firefly is out of its beta, anyone can get started generating images right now!

Prompt Tips & Tricks for Firefly
I go into prompting in Firefly in MUCH more detail in another article, but for the purposes of this article this is what you need to know:
Don’t Use Artist Names
While using Artist names is extremely effective in Dall-e and Midjourney, since Firefly was trained on the Adobe Stock Library, it doesn’t actually know any artists.
Use Adobe Stock for Inspiration
You have direct access to the database used to train Firefly. Use it!
Use Firefly’s Sidebar
Firefly’s consolidated all the best keywords and functions into an easy-to-use sidebar. Using it helps you get great images moer often.
Midjourney & Firefly Tested Keywords
Monthly Inspo Right in Your Inbox
Sign-up and get style-specific keywords directly to your inbox every month.
The Interface
In all my prompt guides, I always make sure to emphasize how useful style, lighting, and composition keywords are. Phrases like “in the style of [art style]” are a great way to ensure you generate the beautiful images you are imagining.
But since most of us don’t have a freaking art history degree (insert eye roll here), it can be hard to think of keywords to describe what you’re imagining.
Not to mention, even if you find the perfect words to describe your image, there’s no guarantee the AI even understands it. It might not have been trained on that subject matter.
Enter Adobe.

Being the UI geniuses they are, Adobe has brilliantly built a sidebar to help fix this. It lists its most popular keywords in the following key areas:
Aspect Ratio
Image Dimensions.
Content-Type
Photograph, digital art, art, and none.
Style
Keywords that describe a particular appearance, technique, medium, or movement.
Color & Tone
Describes the general vibe of the image’s coloring.
Lighting
Keywords for types of manufactured and natural lighting.
Composition
Describes the angle and zoom of the lens.
Aspect Ratio
At its basics, the Aspect Ratio portion of Firefly’s sidebar helps you change the dimension of the resulting images. This can be helpful to ensure your image fits in its final destination (i.e. hero, social image, poster, etc.)

However, changing the aspect ratio not only changes the dimensions of your images, but it is also your biggest tool for changing the composition of your images.
One of Firefly’s biggest challenges is it sometimes gets stuck in a loop of similar images no matter how much you change your prompt and styles.
Just look at the images in the Content-Type section of this article to see how Firefly sometimes purposely uses the previous result as inspiration for the next set.
Changing the Aspect Ratio can break you out of the loop because each option has tendancies specific to the canvas’s dimensions.
Square (1:1)
The default selection.
The 1:1 aspect ratio puts the subject in the middle of the frame and often focuses on the head/face.
This is the most general dimension so you get the most variation in composition.
Great for:
- Social posts
- Headshots
- Variation in compositiion

Landscape (4:3)
This aspect ratio tends to put a larger emphasis on the rule of 3rds.
See how 3 of the 4 tigers below are framed on the left, leaving the right blank to show more details of the background? This is a likely framing using the 4:3 dimensions.
Great for:
- More artisitic shots
- images with more movement
- Landscape images

Portrait (3:4)
The Portrait aspect ratio is best at generating–you guessed it–portraits!
Images generated using this aspect ratio tend to have the subject filling most of the frame and looking directly into the camera.
Since there is a lot more vertical space, the subject’s upper body is included more more often than in other dimensions.
If you are trying to get an image that includes the subject’s full body, the portrait aspect ratio is your best choice.
Great For:
- Portraits
- Generating subjects with full bodies
- The subject to look into the camera

Widescreen (16:9)
Similar to Landscape, the Widescreen aspect ratio often generates images with an asymmetrical composition. However, since there is more vertical space with these dimensions, the images often have more whitespace to work with.
This is incredibly helpful when you need copy room for your designs!
16:9 is also one of the most used aspect ratios for digital assets. Since many screens are made with similar dimensions, widescreen images perfectly fill up the entire screen.
Great For:
- Images with copy room
- Video Thumbnails
- Hero images

Content-Type
The content type section of the sidebar offers 4 different keywords that describe the base style of the generated images:

1. Art
2. Graphic
3. Photo
3. None
As you click through these content-type options, each of the images will maintain its composition: only the medium will change.
Monthly Prompt Inspiration
Learn new AI art styles with monthly style guides.

60s Design Prompts

Cubism Prompts

Photography Style Prompts
Art
The default selection.
It usually produces the most creative results. It can be used to create images that use physical art mediums such as paint and charcoal.

Graphic
This option generates digital art. Images generated using this content type look like they were created in Procreate, or Photoshop.

Photo
Generates images so realistic they look as though they were taken with a camera.

None
Nonspecific medium. This tends to produce photo realistic images, but can show variation through mediums.

Style
This is my personal favorite section of the Firefly sidebar!
I have wasted untold amounts of hours clicking through the different styles to see how they combine to transform my images.
The style panel lists 60+ different stylistic keywords you can to transform your prompt.

Simply select the style[s] you’d like applied to your image, then press generate to see your new stylized images.
The style keyword will be added to a special area below your prompt.

One of the funnest parts of the styles section is when you combine multiple unrelated keywords to your prompt to create unique images.
See how the “Layered Paper” style combines with the “3D” keyword to create such interesting depth with my chromatic cat prompt.

Similar to the Content-Type section of the sidebar, the composition of your generated images doesn’t change between selecting different styles.
The style is simply applied to the 4 images you had generated previously. Notice how my 4 cats look very similar before and after I added the “Layered Paper” and “3D” styles.
Since you can add an unlimited number of style keywords, Firefly won’t know when you’ve selected everything you want. This is why you need to press “Generate” between keyword selections.
However, if you press “Refresh” after you applied the styles, Firefly will generate 4 new images. You can use the favorites tool to go back to the older version should you choose.
Firefly has an overwhelming number of style keywords to choose from. In order to make it simple for you to find what you’re looking for, Adobe’s kindly sorted the 60+ keywords into easy-to-understand categories.
You can click the tabs listed under the Styles tab’s title to filter the keywords down to that specific category.
All
You’d never guess it, but this category simply lists all the style keywords!
Popular (default)
This category lists 6 styles that Adobe has found ot be popular. These styles span across all the other categories.
Firefly filters the styles by the popular tab by default so these 6 will be the first options you’ll see.

Digital Art
Tends to look like something painted in Procreate.

Synthwave
Usually pulls in pink/blue/purple colours, and neon scifi vibes.

Palette Knife
A painting technique that uses a knife instead of a paintbrush.

Layered Paper
Builds the subject out of distinct cut outs and adds depth between shapes.

Neon
Adds a glowing, neon effect. Often brings in neon colors.

Chaotic
Adds a randomizing effect. Often duplicates elements.

Movements
This filters the styles down to art movements throughout history.
This category houses keywords such as the Barouque movement from 17th century Europe, Cubism from the early 20th century, Minimalism from the 60s, or even Steampunk, a modern art genre inspired by the steam-powered machines of the 17th century.

Barouque
Adds an ornate, swirling pattern similar to the architecture of the time.

Cubism
Simplifies the image to basic geometric shapes. Goes well with geometric style.

Minimalism
Simplifies the image to its most basic forms.

Steampunk
A sci-fi genre that incorporates 17th-century steam-powered tech.

Hint: Don’t forget to try and combine styles! Combining Steampunk, Baroque, SciFi, and Fantasy in the movements category has a really interesting effect!


Themes
This is the most general category on the styles panel.
It has styles ranging from hyper-realistic, to Pixel art, to graffiti, to low-poly.
If you have a way to succinctly describe this category, please reach out (lol), otherwise we’re just calling this the catch-all category. :p

Hyper-Realistic
An imitation of photography without being as realistic as a photo.

Pixel Art
Simplifies the image to 8-bit style pixels similar to early video game design.
Graffiti
Mimics the spraypaint splotch style of Graffiti outdoor art.

Low Poly
Simplifies the image to basic poligon shapes. Pairs well with Cubism.

Techniques
This category lists common art techniques/mediums.
These techniques describe the tool used and the particular style it was used to create.
Popular techniques include (but are not limited to): oil painting, splattering, pencil drawing, and doodles.

Oil Paint
A style of painting that allows artists to blend colors and add lots of detail.

Splattering
A style of painting where paint is thown at the canvas then roughly shaped.

Doodle Drawing
A freeform style of drawing that uses improvised organic shapes.

Pencil Drawing
Usually greyscale drawings (unless specified) with thin lined detail.

Effects
The effects category list keywords mostly for photography and lighting effects.
Things like the Bokeh effect, iridescent lighting, isometric effect, and Bioluminescent lighting are all contained in this category.

Bokeh Effect
Blurrs out the background so that a focus is drawn to the subject.

Iridenscent Lighting
Luminescent colors that appear to change depending on the angle.

Iosmetric Effect
It makes 2D illustrations 3D.

Bioluminescent Lighting
Lighting imitted from living beings.

Materials
The materials category lists various different art medium keywords.
These keywords will replicate your images in the material you chose. Digitally of course :p
You can generate photos that look like they are made our of material ranging from fur, to metal, to origami, to wood carvings.

Fur
Makes the subject of the images fuzzy as if they are made of fur.

Metal
Makes the subject of the photo shiny and metallic.

Origami
The subject of the photo looks as if it is made of folded paper.

Wood Carvings
Images are given the ornate detail given to wood carvings.

Concepts
The concepts category is a little more complicated. As the name suggests, the keywords under this category describe an idea that doesn’t have one literal answer.
Beautiful, simple, divine, and nostalgic all mean something different to the person using them.
Firefly takes its most general best guess at appling those concepts.

Simple
Minimalizes the details of the photo.

Beautiful
Enhances the aesthetics of the image.

Nostalgic
Adds a retro vibe.

Divine
Similar to the beauty keyword.

Midjourney & Firefly Tested Keywords
Monthly Inspo Right in Your Inbox
Sign-up and get style-specific keywords directly to your inbox every month.
Color & Tone
The color & tone section of the sidebar helps you focus the AI on a specific mood for your resulting images.
It doesn’t carry the same weight as your prompt or style keywords, so don’t be frustrated if you don’t get the results you are looking for.
It’s not the strongest section of the sidebar, but it can be helpful in enhancing your images’ color.

While this section can be used for all content types, I find it most effective for photos.
None (default)

Black & White

Muted

Warm

Cool

Vibrant

Pastel

Lighting
Similar to the Color & Tone tab, I don’t find this dropdown very effective.
You are better to describe the lighting you are looking for in your prompt than to use the Lighting Keyword options.
However, see below for how the keywords effect your images.

None (default)

Backlighting

Dramatic

Golden Hour

Studio Lighting

Low Lighting

Composition
Once again, this dropdown isn’t very effective.
You are better suited to take inspiration from the keywords in the dropdown and reword it in your prompt than to actually use this dropdown.

Monthly Prompt Inspiration
Learn new AI art styles with monthly style guides.
60s Design Prompts
Cubism Prompts
Photography Style Prompts
Reference Image
This is one of Firefly’s best features in my opinion! It’s similar to making variations in Dall-e but WAAAY better.
Let’s say you’ve generated a photo that’s 90% what you wanted, but it’s got something a little off. Like weirdly generated hands, or a background you don’t like.
You can now use this image as a refference and refine the prompt to fix what was off about it.
Hover over the image you’d like fixed and press the three dots button > Use as reference image.

While you’re making variations, you choose whether you want your image to look more like your prompt or the image you chose as a reference. Simply click and drag the slider that pops up above your prompt, and drag it towards the direction your like the result to refference most.
Slider Position: Reference Image

Gives you fewer variations between images and looks near identical to the original photo.
Slider Position: Prompt

Generates more variations between images and looks specifically different than the original.
Slider Position: Middle

Keeps the core elements from the reference image but makes substancial changes between each variation.
Slider Position: Goldilocks Zone

I find the best position to be 3/4 the way toward the prompt side because it gives you large changes between the variations, but tends to improve all the elements I liked from the first image.
You cannot currently upload your own image to use as a reference, but Adobe has assured its users its a feature they are looking into adding.
They need to work through how to stop people from misusing the feature for things like creating deep fake images. It will be exciting when they solve that challenge though!!
Similar Images
Similar Images is close to the Reference Image function. The Similar Images feature also generates new images that look similar to your original but unlike Reference Image you don’t control what and how much of the original image is used. It’s randomized.
This does provide more variation between your options, but you aren’t able to adjust your prompt and keep the variations you generated.

WARNING: unlike adding styles, changing your prompt will generate completely new compositions for all 4 images.

Interested in a Custom Chatbot?
When I'm not writing AI art articles, I run a development company with my husband Matt.
Check our our chatbots!

How to Use Generative Fill in The Image Generator
Generative AI got so good so fast, it can be hard to remember it’s such a new technology. AI’s are notorious for generating weird eyes, bland backgrounds, and hands that look like they came from an alien!
You could generate the PERFECT picture in Firefly… if only your subject didn’t have that extra arm. (Glum face)
Enter Generative Fill!
Generative Fill is Firefly’s latest AI app. It allows you to select particular areas of an image and edit them with AI.
Similar to the new Photoshop feature of the same name, Generative Fill will soon become an indispensable part of your design process!!

Simply press the edit button that appears on your image on hover, then select Generative Fill. Firefly will automatically import your image into the Generative Fill app and you can let your imagination run wild!
Interested in learning how to use Generative fill? Check out my latest tutorial!!
How to Use Firefly’s Generative Fill Online
A complete tutorial
Read More