1. Open Photoshop
You will need Adobe Photoshop installed and activated for this tutorial
If you don’t have it you can purchase it here
2. Select a photo
Selecting the photo is one of the most important steps. Your art will only be as good as the base photo. The photo should:
- Look good in black and white
- It should have a clear subject easily featured in another colour
Select your photos from free resources such as Pexels and Unsplash, or buy an Adobe Stock subscription to find more specific subjects

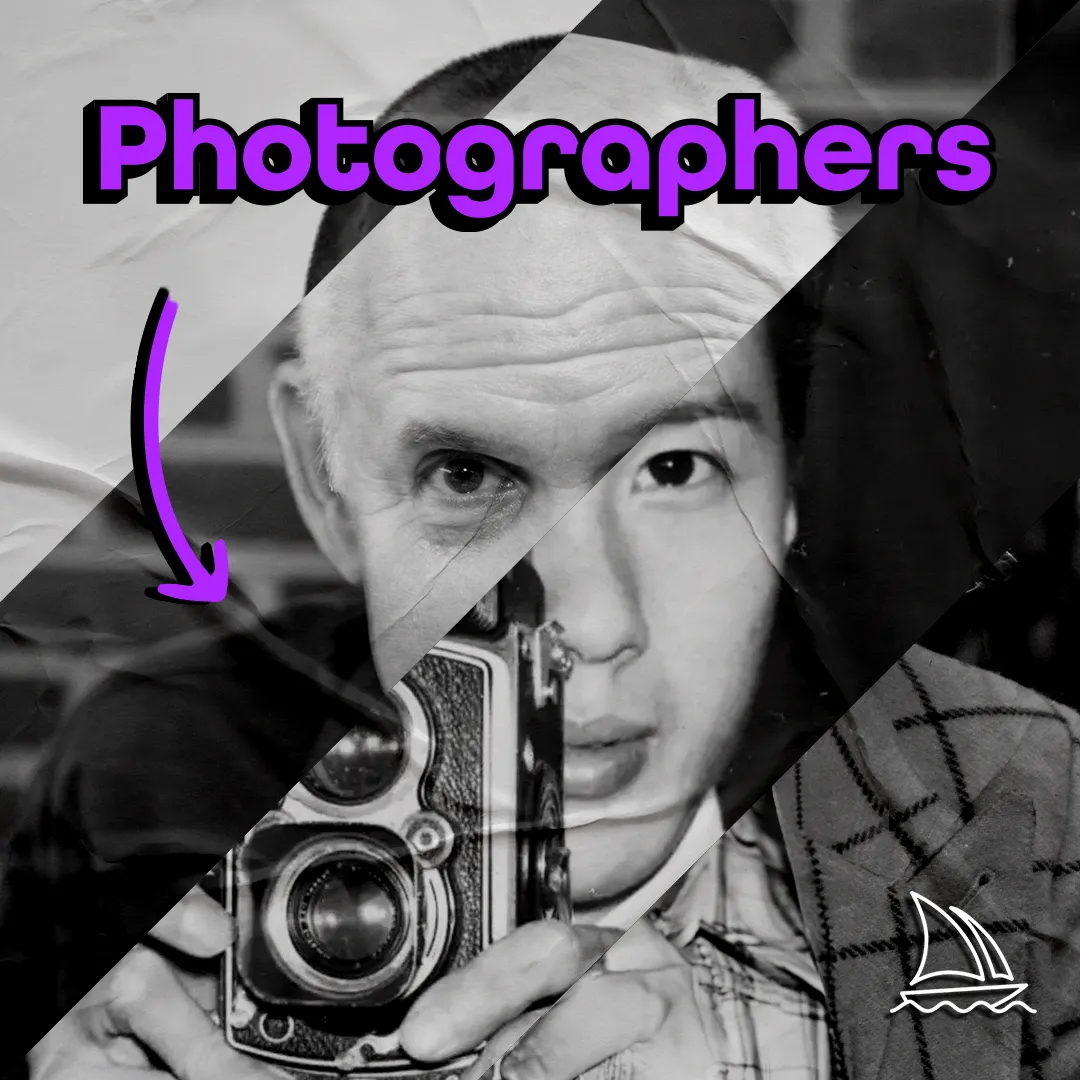
3. Make it Black and White
There are many ways to make a photo black and white. I find adding a black and white, or a gradient map adjustment layer makes some of the most stricking back and white photos.


Adjust your adjustment layer’s settings until that has the desired effect.

4. Create a new layer with a “color” blend mode
Create a new layer
Adjust the blending mode to be “color”

5. Select you colour and brush it onto the subject
Ensure your desired colour is the top colour in your colour swatches.
Select the brush tool and brush over your subject

6. Export
Save and Export your file as a jpeg or png