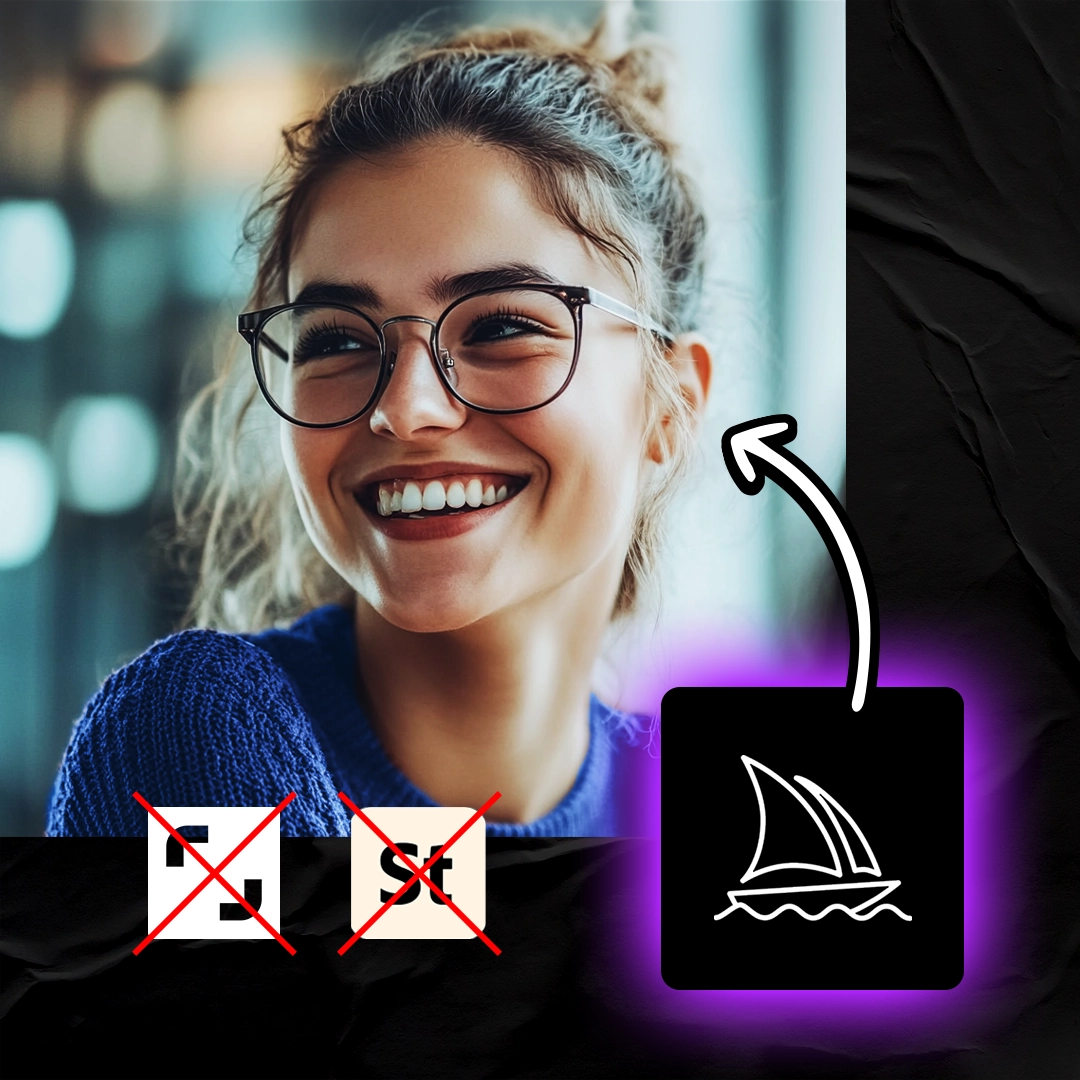
Before We Begin
In case you missed it in the title, this tutorial will be using Adobe Creative Cloud products Photoshop and Illustrator. I’d recommend purchasing these applications before you begin in case you haven’t already.
Full disclosure, I am an affiliate with Adobe. There will be links through this article (and many of my others :p) that will help you purchase part or all of the Creative Suite if that is what you’re interested in. These links are what allow us to provide you with awesome tutorials every week, and when you make a purchase through them it really helps to support the website.
Ok, back to the tutorial 🙂
1. Prepare the Illustration
For the purpose of this tutorial, we’ll be skipping the process of actually creating the line illustration, but stay tuned for the future tutorial! Feel free to create your own beautiful designs or download one of Adobe Stock has hundreds of vector illustrations to use as our base.
Open a new 1080px x 1080px Illustrator file and import your illustration into it.

Remove any fill from the illustration, add a 10px white stroke, and save your illustrator file.
2. Import Illustration into Photoshop
Create a new 1080px x 1080px Photoshop file.
Add a new Solid Color Adjustment Layer.

This will be your background color. I’d recommend using a darker color so the neon pops, but designer’s choice! I’m going to use #1a1a1a.
Drag and drop the icon we created in step number 1 into the Photoshop canvas and resize to your liking.
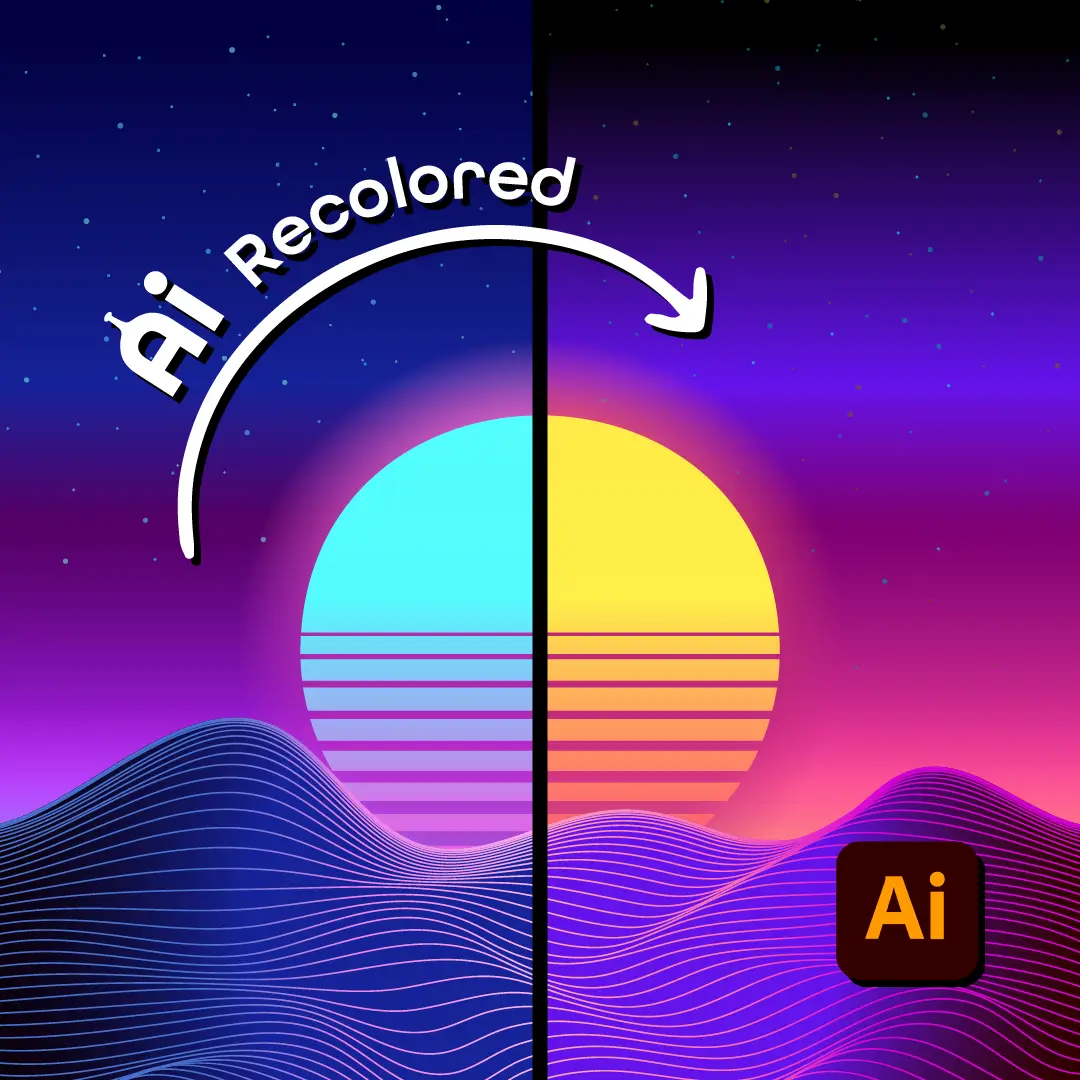
3. Add Inner Glow
Ensure you have the vector layer selected, add an inner glow Layer Style.

Play around with the settings until you are happy with the effect. Make sure that the source of the inner glow comes from the edges, and that there is a little be of white still visible in the middle of the icon’s stroke.
I used a #b026ff soft inner glow with 70% transparency, 18% choke, and 13px size.

4. Add Outerglow
Ensure you have the vector layer selected, add an inner glow Layer Style.

Make sure to change the outerglow color to the same colour you used in step 3, and adjust the blending mode of the outerglow to normal so it stands out on the dark background.
The rest of the settings are subject to your preference. Adjust the transparency, spread, and size until you get your desired look.
I used 75% transparency, 9% spread, and 55px size.

Share it with the world!
Good design is meant to be seen! Now that’s you’ve made your awesome icons, its time for the world to see! Share it on Insta, make posters of it, pin it to grandmas fridge! Whatever floats your boat.
Pass on the joy of creating cool things <3